DIY Airband Radio Receiver Aviation Band Receiver Kit

Description:
Like many scanner enthusiasts and ham operators, you are interested in listening in on all the excitement manifest in aeronautic communication, but lack the equipment to pursue your interest, then maybe the Aviation-Band Receiver described in this article is for you.
Like many scanner enthusiasts and ham operators, you are interested in listening in on all the excitement manifest in aeronautic communication, but lack the equipment to pursue your interest, then maybe the Aviation-Band Receiver described in this article is for you.
The Aviation Receiver, designed to tune the 118-135MHz band, features exceptional sensitivity, image rejection, signal-to-noise ratio, and stability.
The receiver is ideally suited to listening in on ground and air communication associated with commercial airlines and general aviation.
Powered from a 9-volt alkaline battery, it can be taken along with your to local airports so that you won't miss a moment of the action.
And even if you're nowhere near an airport, this little receiver will pick-up all the ground-to-air and vice-versa communications of any plane or ground facility within about 130 miles (190Km).
Color: Green
Material: CCL
Construction:
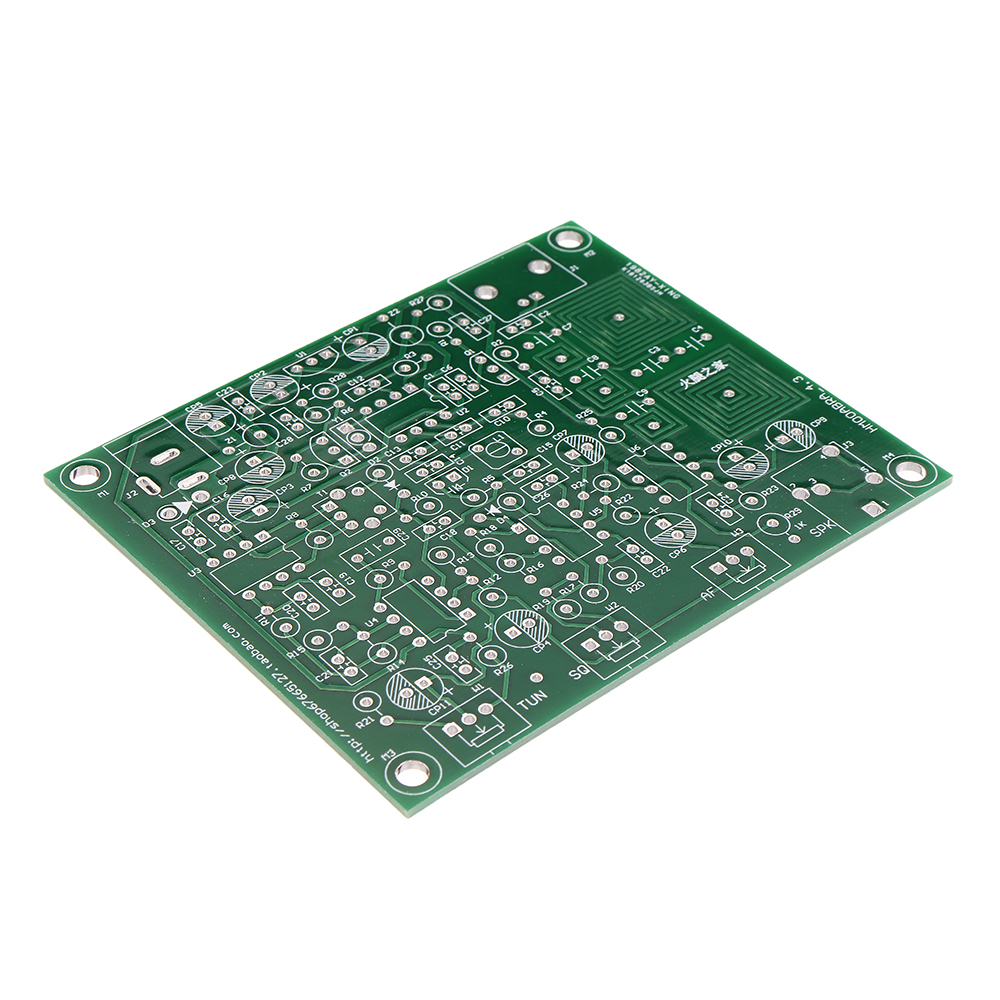
Once you have obtained all of the components and the board for the Aviation Receiver, construction can begin. A parts-placement diagram is shown in Fig. When assembling the project, take special care that polarity-sensitive components (electrolytic capacitors [keep leads as short as possible], diodes, and transistors) are installed properly. Just one part installed backwards can cause grievous harm!
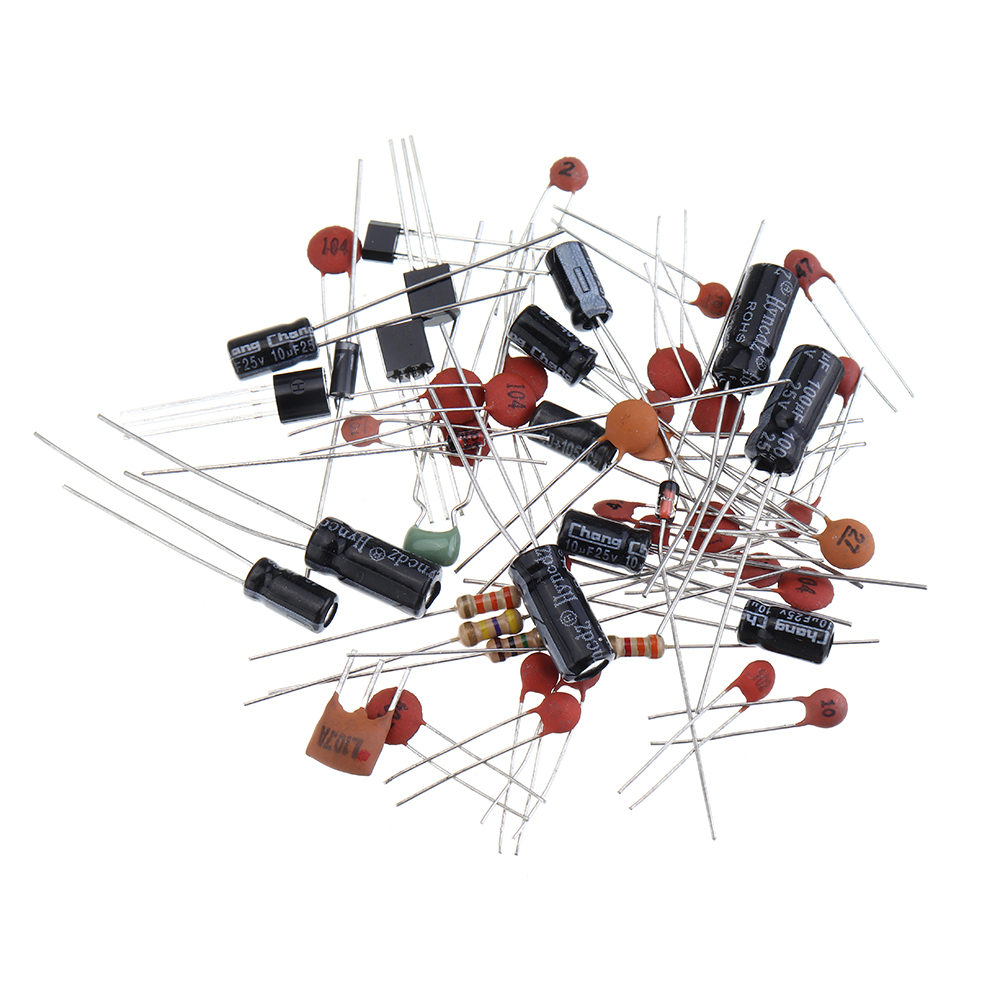
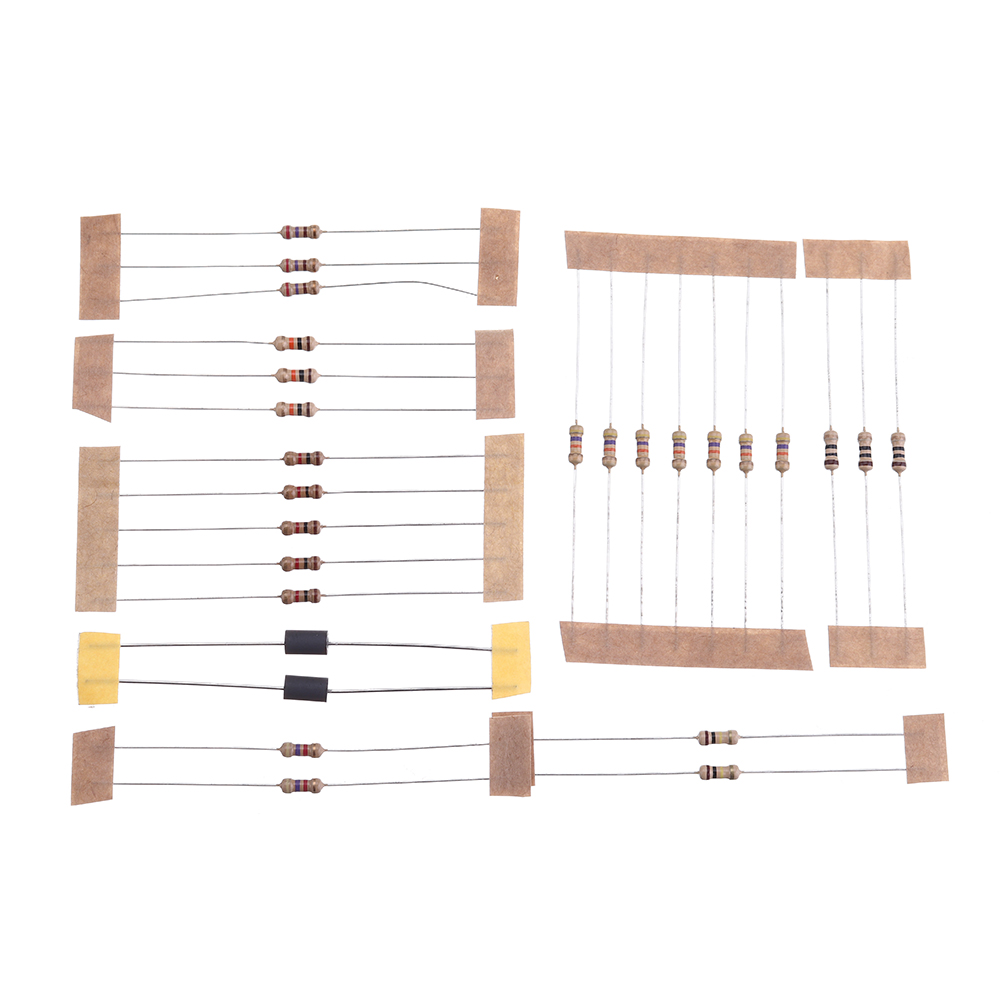
Inductors (Aircoils) L1,L3,L5 can be made easily on a 5mm drill bit. Before you wind them, scrape the enamel of each end, about 5mm. Then wind the 1.5 turn (2-turns is okay too). I know it can be tricky especially if you have big fingers like me. Begin by installing the passive components (6 jumper wires, sockets, resistors, capacitors, inductors). Followed by installing the active components; diodes, transistors, and IC's. Once the active components have been installed, check your work for the usual construction errors; cold solder joints, misplaced or reversed-lead components, solder bridges, etc. Once you have determined that he circuit has been correctly assembled, it's time to consider the enclosure that will house the receiver.
The receiver's circuit board can be housed in any enclosure that you choose.
Note:
Light shooting and different displays may cause the color of the item in the picture a little different from the real thing. The measurement allowed error is +/- 1-3cm.
Note:
Light shooting and different displays may cause the color of the item in the picture a little different from the real thing. The measurement allowed error is +/- 1-3cm.
Package included:
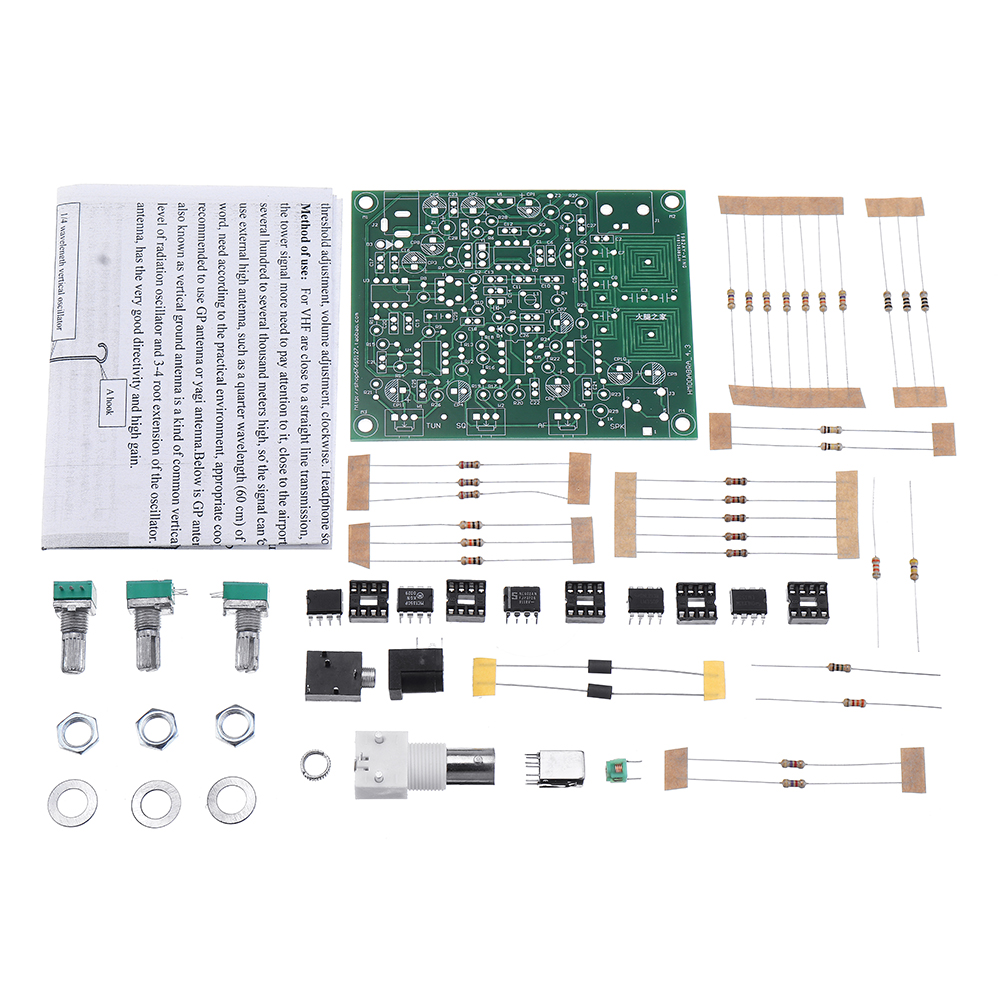
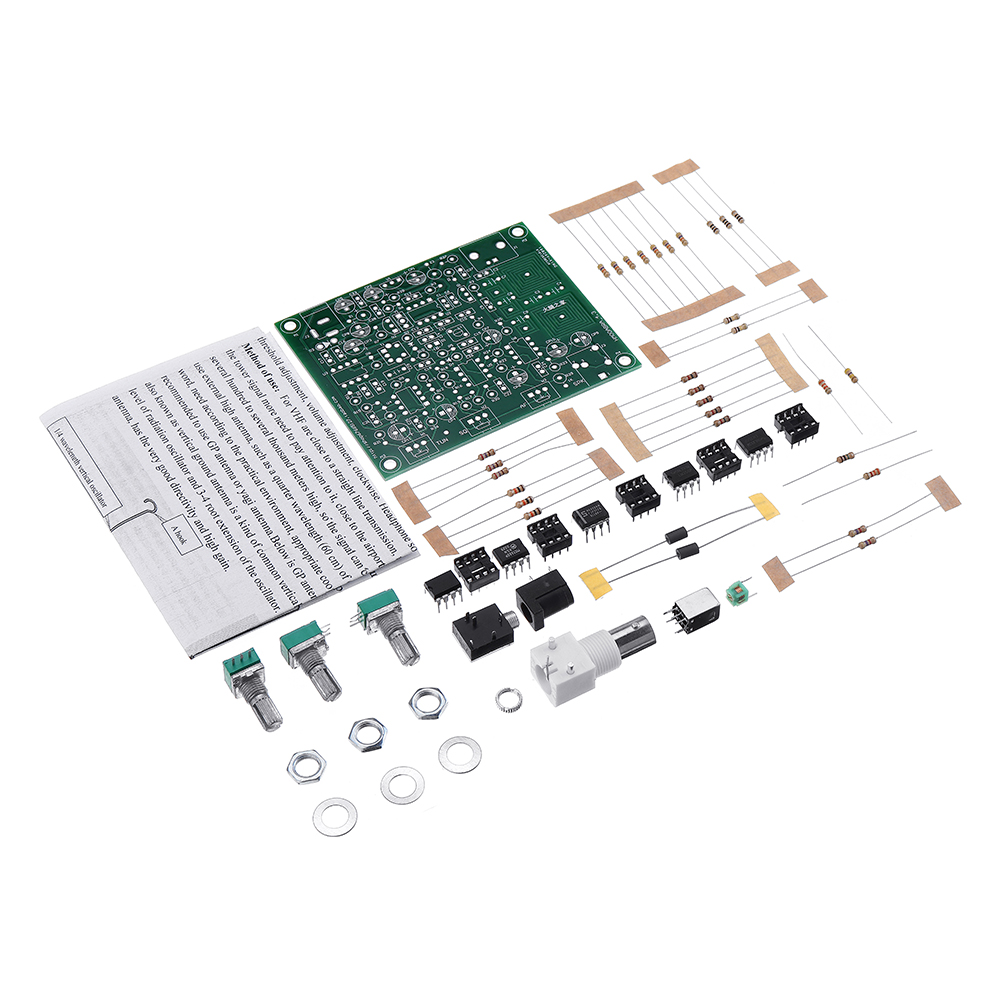
1 x DIY KITs Airband Radio Receiver Aviation Band Receiver
1 x English manual
DIY Airband Radio Receiver Aviation Band Receiver Kit Buy Now

